Do you ever feel like your hiking pictures could be better? Maybe you’ve upgraded your camera and have even taken a course but there’s still room for improvement.
Like anything, improving your photography takes time and practice. There are a lot of courses and new gear out there but before you invest your time and money, I suggest you try out these simple techniques that you can easily practice on your own.
We’ve already talked about how to choose a camera, so now let’s get into how to take hiking photos.
1. DO YOUR HOMEWORK
If you are going on a popular trail, see what other people have done before you. Study angles and positioning so when you arrive at that stunning lookout you have an idea of how to frame your shot. Flickr is a good tool for finding pictures. It’s not to say copy other photographers, quite the opposite, find a way to improve the photo and make it your own. To do this, you have to know what’s out there first.
On the press trips Antonio and I go on, we often create a photo essay of the excursion. Creating a shot list is essential for ensuring we get enough shots to tell the story of the place and experience. Even if you aren’t preparing for a press trip, shot lists are very useful to give you targets to aim towards. Create one for your next hike and bring it with you. Review it every evening at camp so you are aware of which shots you still need to get.
2. SHUT UP!
Wildlife is shy. Creatures run away at the sight of humans so if you want to capture wildlife you are going to have to be quiet. There’s plenty of time to talk to your mates at camp, so take the opportunity on the trail to capture as many photos as you can.
3. CAPTURE ACTION
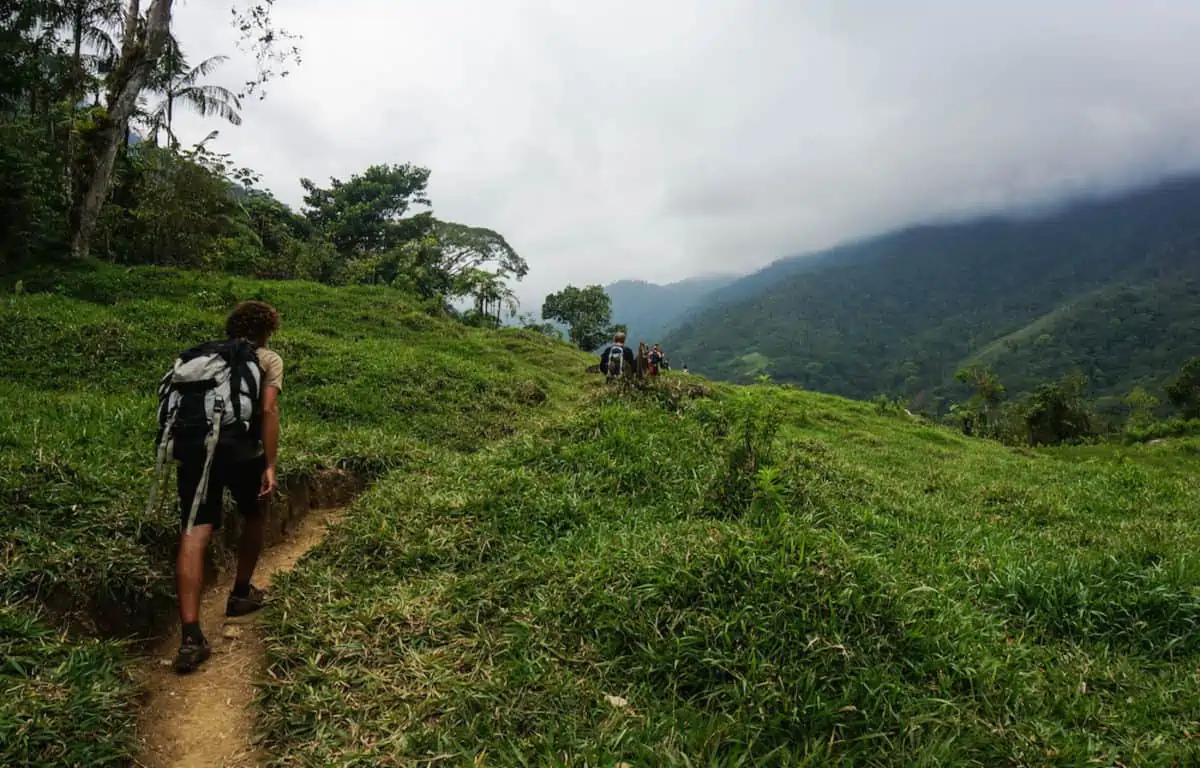
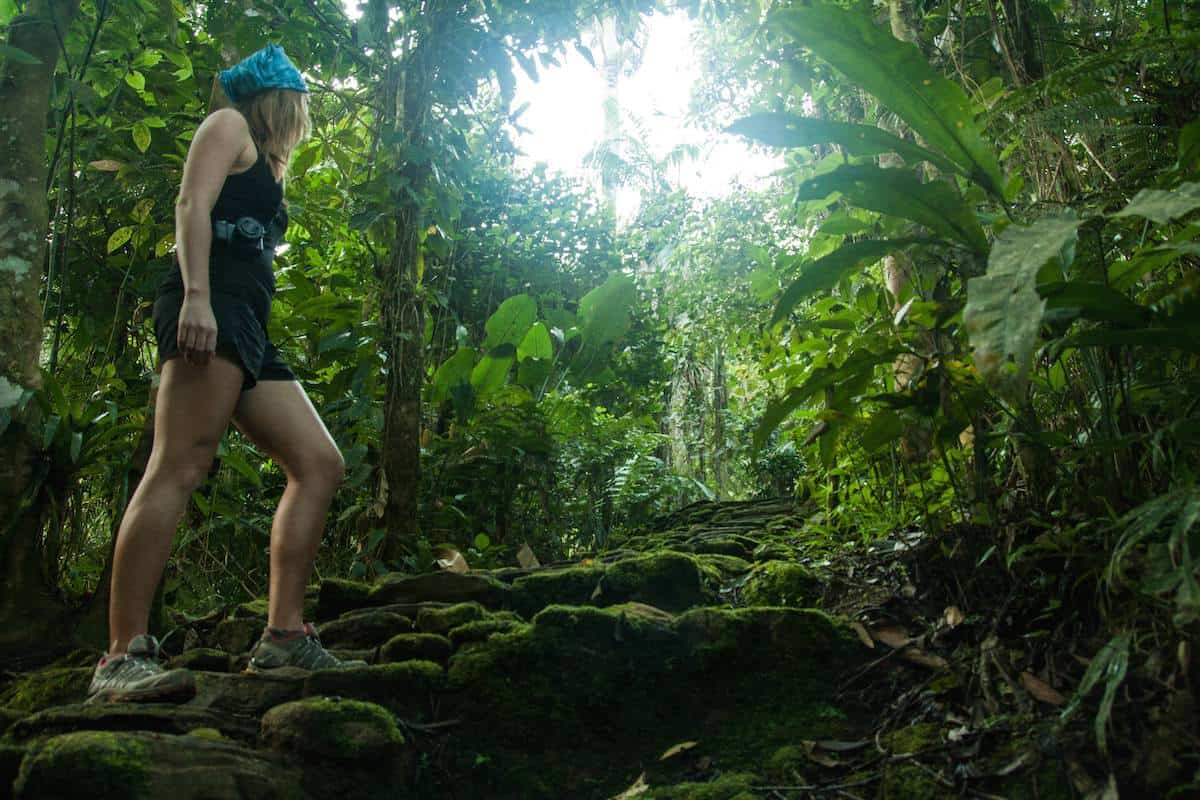
Coach your models (hiking buddies) how you want them to be positioned in the shot. Candids are great too but don’t guarantee you will get the photo you want. Action shots are all about framing and positioning. An angle you can experiment with is get low and have your hiker walk through the shot. This allows you to see the profile of the hiker in action, rather than just their back. The idea is to make the viewer feel as if they are walking into the picture.

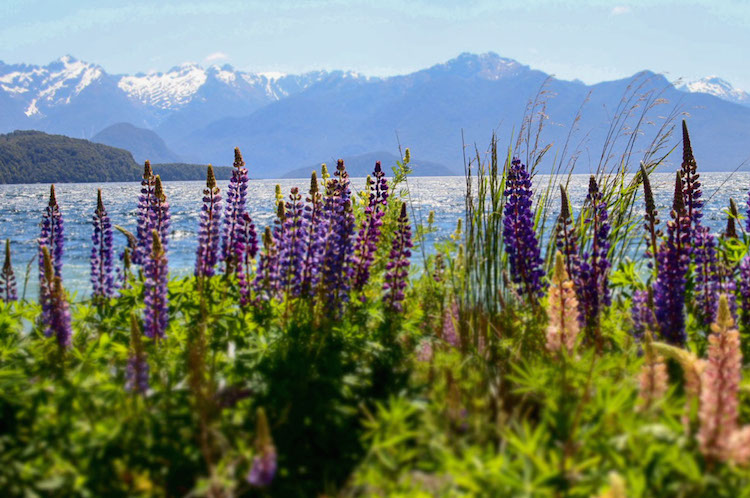
4. STUDY THE FOREGROUND
Sweeping landscapes have a place in hiking photography but if you want to make your landscape shots stand out from the rest, study the foreground.Placing something in the front gives your photo depth and makes it unique. Wildflowers, rocks, people, and lakeshores are a good place to start.

5. FORGET ABOUT THE PERFECT LIGHT
This goes against everything you know about the golden hour. Yes, the hours close to sunrise and sunset make for some impressive photos but you will most likely be on the trail during the middle of the day so you have to work around it. Even if the light isn’t just right, take the photo anyway, you might not get the chance again.

6. KEEP YOUR CAMERA READY
A fancy case is great for storing your camera but while hiking, try to leave it out. Mirrorless cameras are perfect for outdoor photography because they are light and compact. I often forget my Sony NEX 6 is around my shoulder. Even if you aren’t trying to shoot fast moving wildlife, having your camera out will allow you to take more photos. You won’t have to take off your pack and rummage to find your camera.
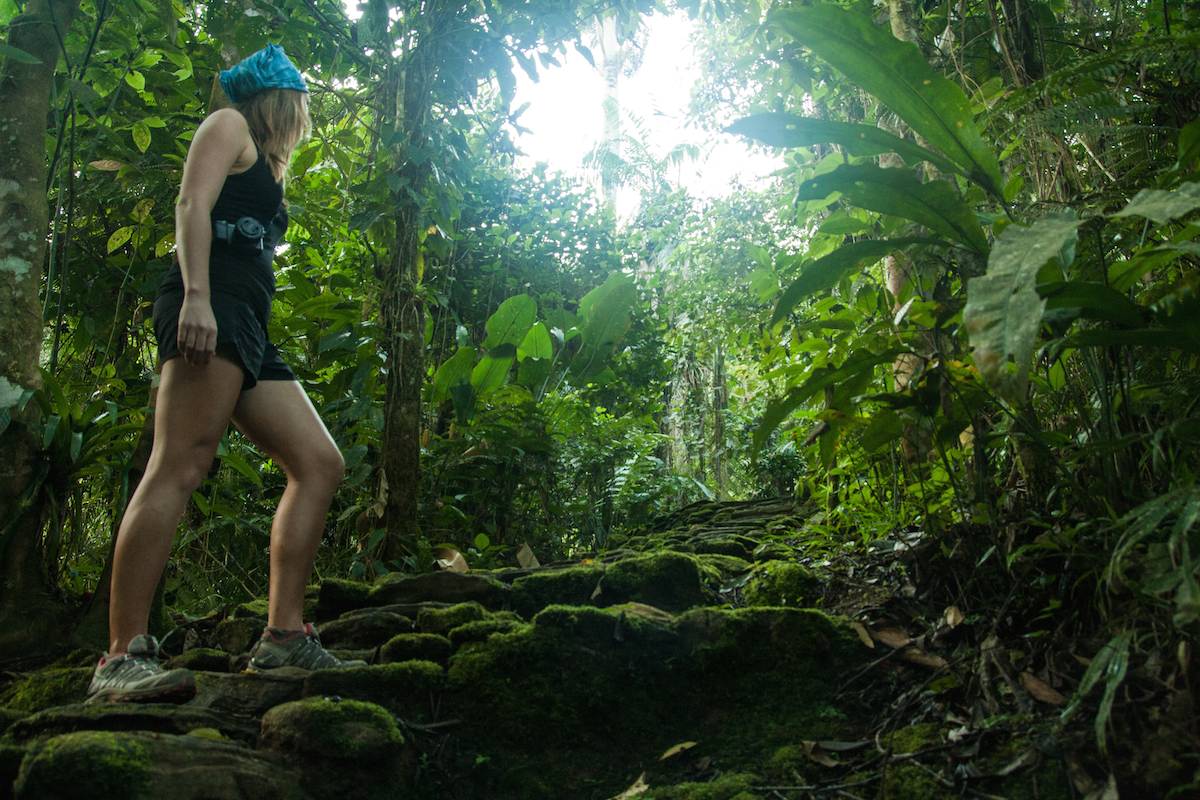
7. THINK OF SMALL DETAILS
Epic landscapes are great but so are the small things. Bugs, closeups of other hikers, and signs are all the small details that add depth to your collection of photos. If you plan to create a photo essay, these small details will help you tell the story of the place.
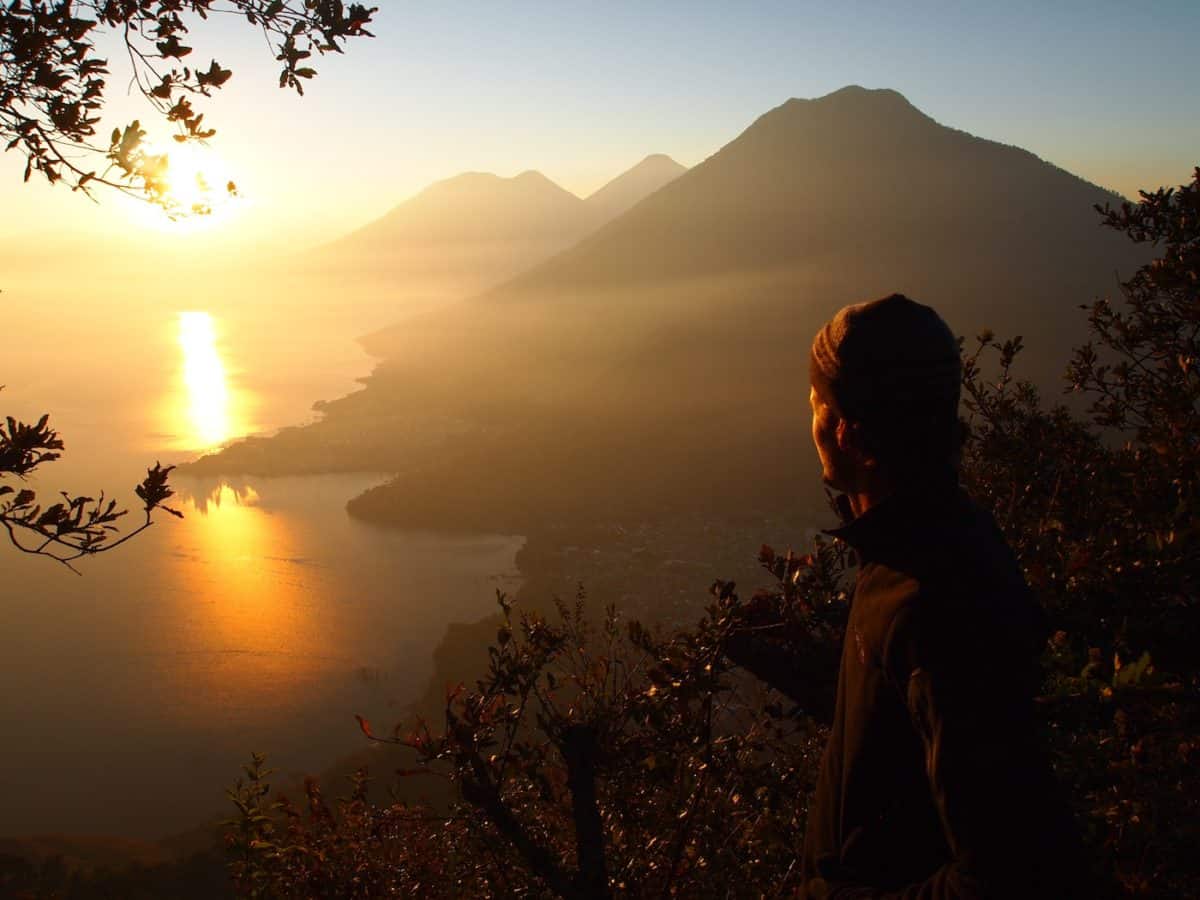
8. GET UP EARLY
Crawling out of the warmth of your cosy sleeping back is tough but well worth it. Set your alarm a few minutes before sunrise, grab your camera and capture those amazing red and orange hues of the first light of the day.

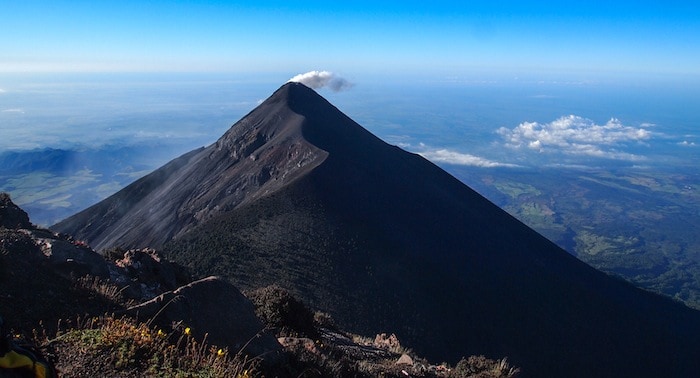
9. STAY UP LATE
Hiking allows for great opportunities to capture night shots. Far from the city lights, the sky comes alive with millions of stars. Invest in a lightweight tripod and do some research on how to photograph the night sky.
Stars aren’t the only reason to stay up late. Active volcanoes make for great night photos like this one of Telica Volcano in Nicaragua.


Thank you for this incredibly useful post! I’m a hiker myself, but rarely ever think about the photography I want to do while on the trail. So while I feel no lack of creativity in the rest of my travel photography, my hiking pictures all look the same. Thank you for some great pointers on how to visualize shots.
Thanks Natasha, I’m glad you found it useful. Hope to see some of your hiking shots on your blog.
Wow those are awesome photos. I’ll try out your tips the next time I hike to a new location. I’ve never had luck figuring out what to take pictures of. Often what I think as a great scene ends up not great in photo. That’s why I often just take a shotgun approach and click away then delete later.
Thanks Margie! It’s all about trial and error. I’m sure if you keep at it and try some new techniques you will come home with some great shots.
Thank you for this post. I’m excited about doing some pre-planning before my next outdoor adventure and thinking about what kind of photo story I want to create.
You’re welcome Sandra. Where are you headed?
Is there a “pocket camera” that’s best for taking in the view? I just want to keep it simple and capture the view on my hikes, backpacking and mountain biking trips.
Hey Jason, yea sure there are lots of great compact cameras out there. If you want something you can rough up, have a look at the Olympus Tough.